A photogram is a photographic image made without a camera by placing objects onto the surface of a light-sensitive material such as photographic paper and then exposing it to light. The usual result is a negative shadow image that shows variations in tone that depends upon the transparency of the objects used.
Areas of the paper that have received no light appear white; those exposed through transparent or semi-transparent objects appear darker. Some of the first photographic images were photograms. William Henry Fox Talbot called these photogenic drawings, which he made by placing leaves and pieces of material paper onto sensitized paper, then left them outdoors on a sunny day to expose. This produced a dark background with a white silhouette of the objects used.
1.) The first step is to turn of the lights to the safe light to protect the photographic paper.
2.) You prepare the chemicals; Developer, Stop and Fix in order.
3.) Then choose your objects that have patterns and different shapes to make the rayographs look interesting. (non-transparent objects work well)
4.) Place your photographic paper on the enlarger.
5.) Make sure you have the filter in the correct place so that the light doesn't damage the photographic paper as it is sensitive to light.
6.) Put the objects you choose on the paper you can over lap them and put them in different positions.
7.) Then you can remove the filter.
8.) You set your timer for 10 seconds to expose your paper so that your objects can reveal itself but depending on how much light you want to enter your objects you can change the seconds you expose your paper for.
9.) Then you take your objects of the photographic paper by swiping your objects carefully so it doesn't scratch the paper.
10.) Take your paper off the enlarger carefully to not touch the part of the paper that has been exposed.
11.) And bring it to the developer and leave it in there for a minute
12.) Use the tongs and pick up the photographic paper and place the paper into the stop. Leave it in for 40 seconds.
13.) After that use the other tongs and take the photographic paper out and place it in the fix for as long as you want depending on how you want your image to come out.
14.) Then put it in the water.
REMEMBER TO NEVER PUT ON THE LIGHT!!
In my class we did our own photograms and evaluated them:
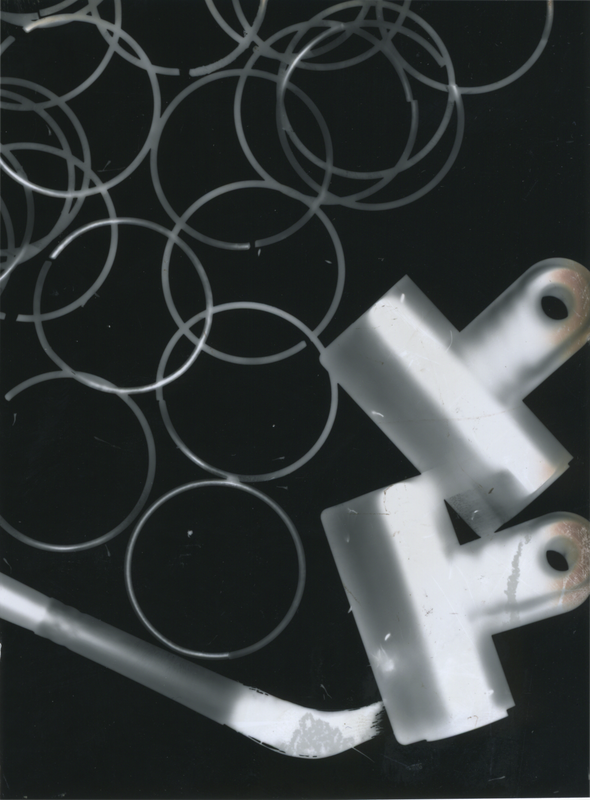
My first photogram was almost a success, you can see it was simple and all the shapes i used against the dark background,
I would make my next image more interesting, by adding more shapes and filling up the black space.
Next time I would try to:
-use personal objects
-experiment with my face or hands.
-create a symbol like image by selecting how to place objects onto the photographic paper.
I would make my next image more interesting, by adding more shapes and filling up the black space.
Next time I would try to:
-use personal objects
-experiment with my face or hands.
-create a symbol like image by selecting how to place objects onto the photographic paper.
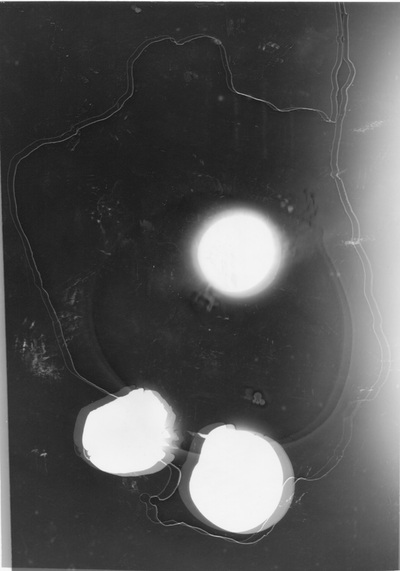

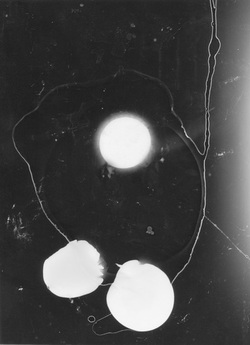
In our lesson we used an egg, and cracked it onto glass otherwise the paper would be wet and wouldn't come out as it was supposed. In the second image it was water splashed straight onto the photographic paper.
evaluation
In this image we used the egg and cracked it onto the glass, you can see the yolk in the middle and the shells on the bottom of the image, you can also see the outline of the egg white dripping of the glass. The side of the image was slightly whiter than the rest of it because less light got to that part of the image.
